Retired: Image Optimization tag
IMPORTANT: Image Optimizer has been retired as of June 12, 2024. We recommend utilizing A/B split testing in your ESP or other available solutions for similar results.
The Litmus Personalize Image Optimizer allows you to conduct image optimization live in your email. The most converting image after the initial quota of opens will automatically be displayed for the remainder of the campaign opens. This is a quick, easy alternative to A/B Split tests and control groups. The highest converting image for the campaign at that point in time will display for the rest of the campaign.
Getting Started
Assets required: Ensure you have the assets you would like to test prior to beginning the set up.
Navigate to the 'Campaigns' section of the platform:

Navigate to the campaign you wish to add the Image Optimizer Tag to or create a new campaign.
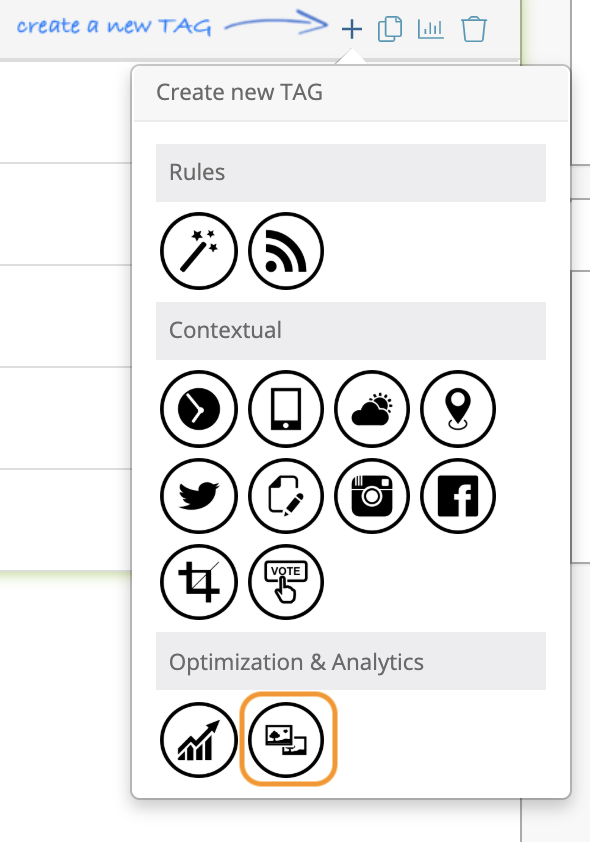
From the dropdown widget menu, click on the Image Optimizer icon:
Enter a mailing name and click next. You can now upload the images you wish to use in the optimization. Click on the 'Add Images' button.
Select the images you would like to upload. You can select multiple images:
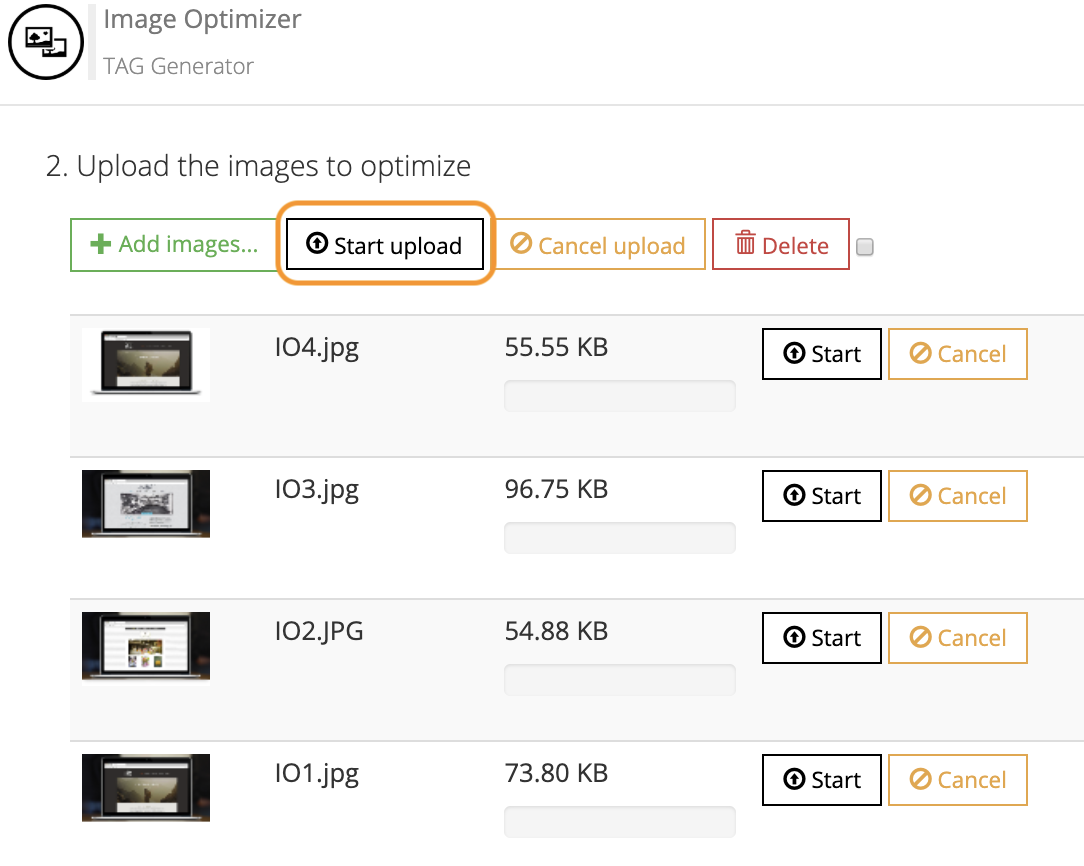
Click on the 'Start Upload' button to upload the images. You can delete an uploaded image(s) and upload others if required.
Once the images have uploaded, click next.
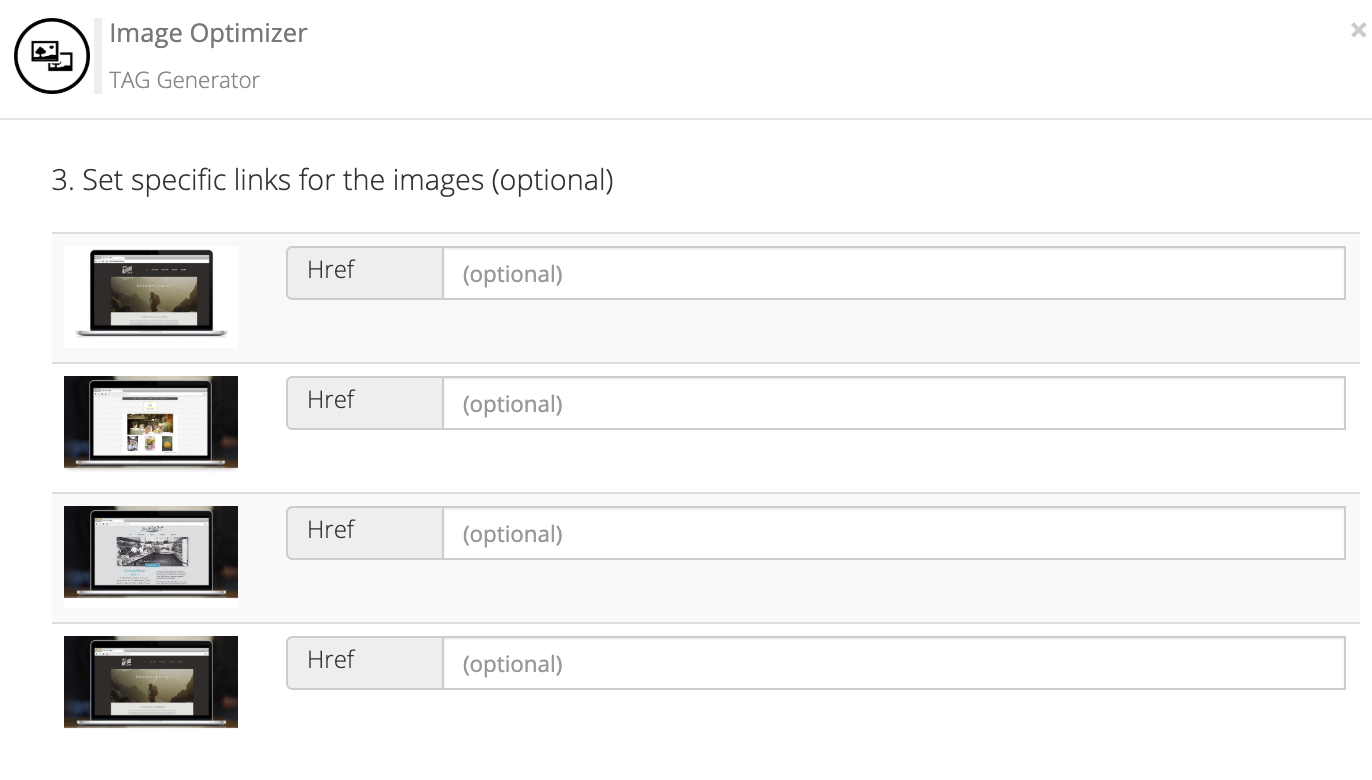
You can now give each image an href. If you are testing particular category or offer, you can link to the corresponding webpage for the image:
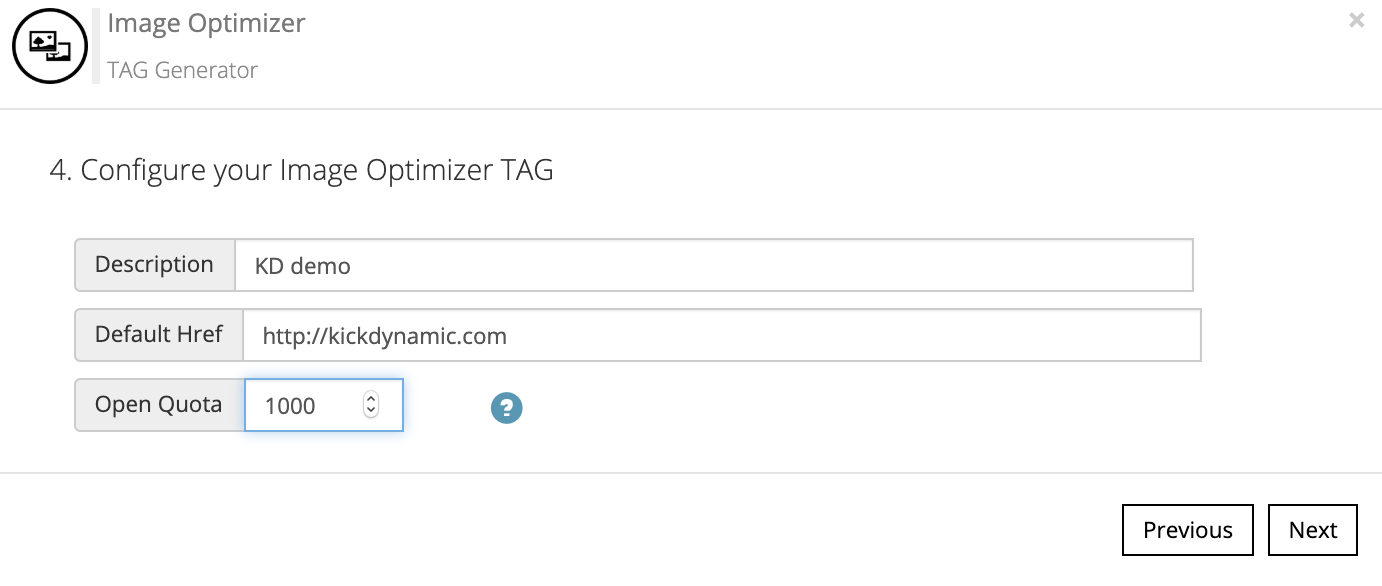
Click next. You can now add a description, href and open quota.
Description; this is an internal name for the Tag
Href: this is the landing page for when recipients click on the image. For example: http://www.litmus.com/
Open quota: The open quota is the number of opens for the test. Once the open quota is met, Image Optimizer will stop optimizing and display the winning image to the remainder of recipients yet to open the email. We recommend the open quota to be 10-20% of your average open rate.
Click next to generate the Tag. Hit done and you’re finished!
Copy and paste the tag into the email HTML where the image will display.
Tracking the optimization
Once you send your campaign you can see real-time optimization reports in the mailing reports by selecting the Tag. The optimization phase is live with opens and clicks updating as you view the report.
Live reporting:
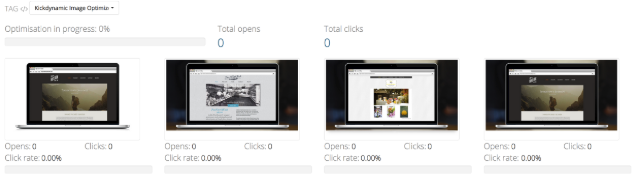
In the report you can track which image is generating the most opens and clicks and then when the quota is met the winning image is displayed to the rest of the openers.
Optimization finished:
